Landscaping a home is an exciting and challenging task that requires careful planning, attention to detail, and the right tools. It can be overwhelming for new tradespeople to think about all the different aspects of landscaping. Still, with a bit of knowledge and tools, it can be a rewarding and fulfilling experience.
This blog will talk through the essential steps to landscaping a home.
Steps in Landscaping a Home
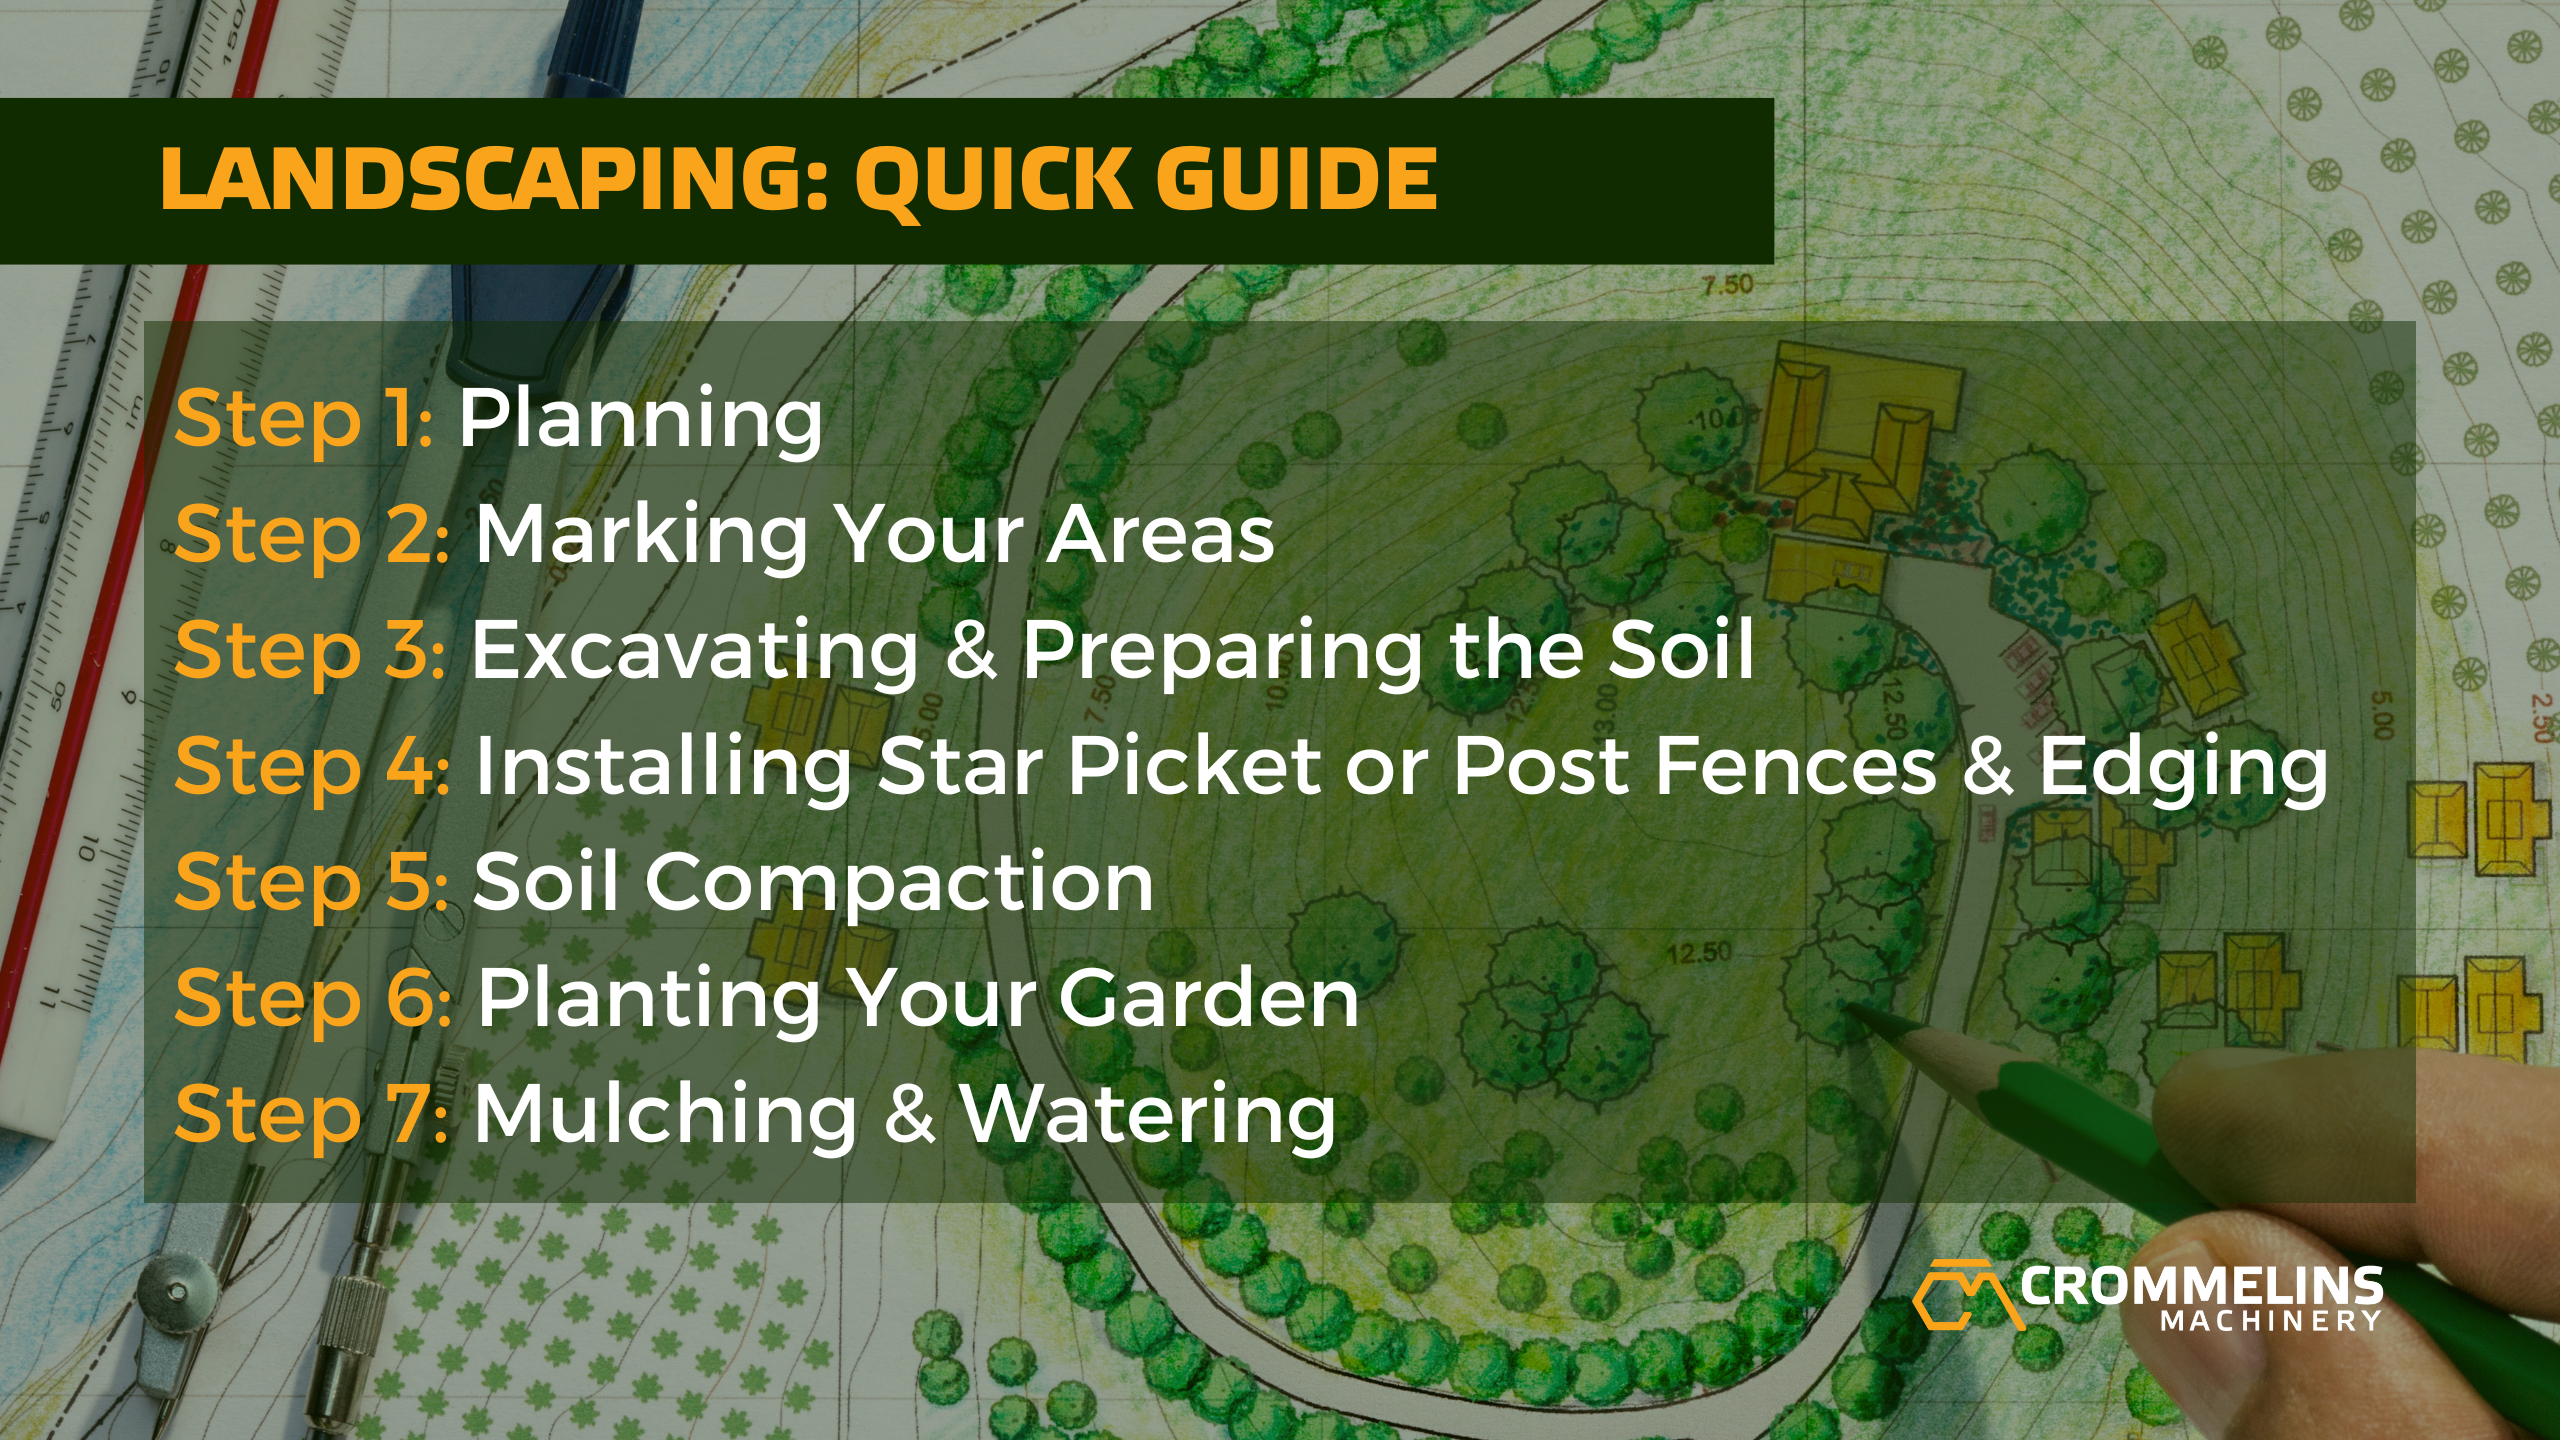
Step 1: Plan The Design of Your Landscape
With any great project, the first step is always to create a plan. This plan should include the types of plants, trees, and flowers you want to have, as well as any features such as patios, decks, and retaining walls – this will dictate whether your landscape needs to be compacted.
Consider the size of your property, the climate, and the sunlight your yard receives when choosing plants. You should also consider the maintenance requirements of each plant you plan to feature in your garden.
By planning, you can determine which tools you would need to begin. This may include string trimmers, star picket drivers, edgers, or plate compactors.
Step 2: Marking Out Your Areas Before Landscaping
Once you have a plan in place, you need to mark out the areas for the different elements of your landscape. Consider using stakes and string to outline the borders of your planned features, such as garden beds, patios, and other features.
Marking out your areas will help you visualise the space and ensure that everything fits within your yard.
Step 3: Excavating and Preparing the Soil
Soil is a crucial element in landscaping; one must excavate and prepare it for planting. The process usually involves removing grass and weeds from the proposed area and digging to a depth of about 6-8 inches.
Once this is done, compost, topsoil, and additional components must be added to ensure the right growing conditions for your plants.
Step 4: Installing Star Picket or Post Fences and Lawn Edging
If the house is in a rural area or you would like to execute a countryside design, we suggest using star picket fences or post fences. To help define the different areas of your yard you can use these types of fences or alternatively, lawn edging.
Lawn edging involves creating a defined boundary or edge between distinct areas of a garden or yard through various materials such as stones, bricks, or even plants such as shrubs or groundcovers.
Installing star picket fences or post fences requires a star picket driver, a specialised tool used to drive pickets or posts into the ground. This is done through a hammer-like action within the picket driver.
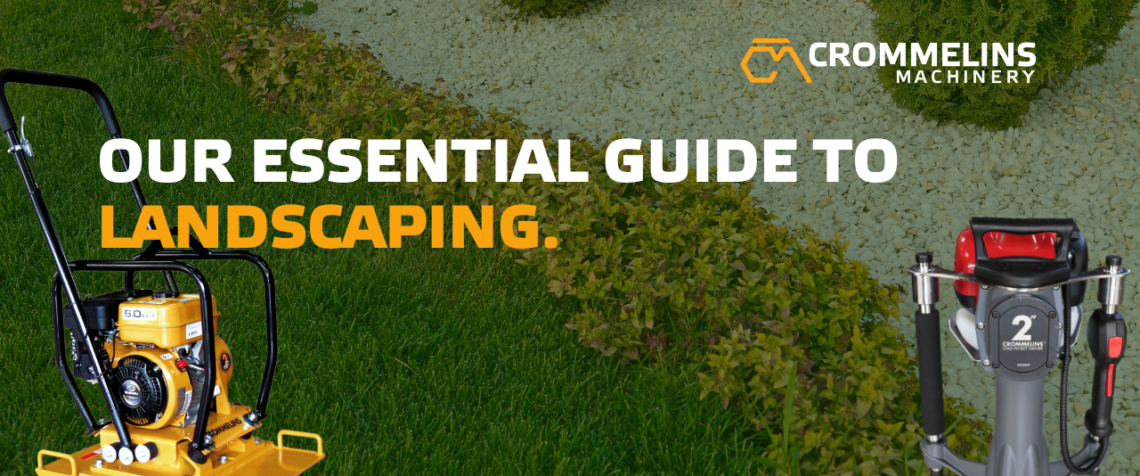
Consider the Crommelins Star Picket Driver 2” Honda for pickets or posts that have a 2-inch diameter or the Crommelins Star Picket Driver 3” Honda for those that have up to a 3-inch diameter. The Crommelins Star Picket range features a genuine Honda industrial engine, petrol-powered, anti-vibration handles, and is compact and easily transportable. Both of these have a large impact force for efficient driving but are quite lightweight for its size.
Step 5: Compacting the Soil
If your plan calls for walkways or pathways, an important step is to compact the soil. Plate compactors guarantee that the soil will not shift or settle over time, ensuring that anything placed on top of the soil will not be affected. After the soil is compacted and the top layer is laid, this would also need to be compacted. Loose material such as gravel are forced closer together, eliminating air pockets and ensuring sturdier compaction through the force of the vibration. Plate compactors ensure that the ground is level and compact for proper use.
At Crommelins Machinery, we have a range of compactors to help you compact your soil. Chat to our team of friendly experts to find out which is the right choice for you!
Laying artificial turf? Our Crommelins Plate Compactor CC70RP is the perfect choice. With its curved based it prevents any damage to your new lawn and ensures the base is set well into the soil.
Step 6: Time to start Gardening to Elevate Your Landscaping Project
Once the soil has been excavated, prepared, and compacted, now is the time to start gardening. Whether you are planting trees, shrubs, flowers, or vegetables, follow the recommended planting instructions for each plant.
Step 7: Continuous Care through Mulching and Watering
The final step is to mulch your garden to help retain moisture and prevent weed growth. When spreading the mulch, keep it away from the base of the plants to prevent rot. Afterwards, water your plants thoroughly and regularly.
Whether you are landscaping your first project or have completed many the result is always satisfying. With careful planning, attention to detail, and the right tools, you can create a beautiful and functional outdoor space that can be enjoyed for years to come.
Interested in using our range of products to help you along the way? These are available to hire or purchase through our network of dealers across Australia. Find a dealer near you here.
About Crommelins Machinery
Crommelins Machinery has been providing high-quality portable powered products to Australians since 1958. Always at the forefront of innovation and driven by customer needs, the introduction of new products have always been developed to meet the demands of the industry and the rigorous testing all Crommelins products are required to undergo.
Crommelins Machinery is a proud member of The Crommelin Group.


